# Lesson Plan: MakeCode Arcade Game Development Introduction
Objective
By the end of this lesson, students will be able to create a game using MakeCode Arcade that incorporates core game mechanics, enemy AI, scoring, timers, and additional features such as sound and visual effects.
Materials
- Access to the makeCode Arcade web platform.
- Access to a projector or screen for demonstration.
- Handouts or access to online resources for reference.
- RECOMENDED: Create a makeCode account to save and share your creations.
Target Audience
Teens with little or no familiarity with programming concepts.
Project
info.onScore(12, function () {
    game.setGameOverMessage(true, "You did it!")
    game.gameOver(true)
})
info.onCountdownEnd(function () {
    game.setGameOverMessage(false, "You ran out of time")
    game.gameOver(false)
})
sprites.onOverlap(SpriteKind.Player, SpriteKind.Food, function (sprite, otherSprite) {
    sprites.destroy(otherSprite)
    info.changeScoreBy(1)
    music.play(music.melodyPlayable(music.baDing), music.PlaybackMode.UntilDone)
})
sprites.onOverlap(SpriteKind.Player, SpriteKind.Enemy, function (sprite, otherSprite) {
    game.gameOver(false)
    game.setGameOverMessage(false, "Better luck next time")
})
let Collect_Item: Sprite = null
let Player1 = sprites.create(img`
    . f f f . f f f f . f f f .
    f f f f f c c c c f f f f f
    f f f f b c c c c b f f f f
    f f f c 3 c c c c 3 c f f f
    . f 3 3 c c c c c c 3 3 f .
    . f c c c c 4 4 c c c c f .
    . f f c c 4 4 4 4 c c f f .
    . f f f b f 4 4 f b f f f .
    . f f 4 1 f d d f 1 4 f f .
    . . f f d d d d d d f f . .
    . . e f e 4 4 4 4 e f e . .
    . e 4 f b 3 3 3 3 b f 4 e .
    . 4 d f 3 3 3 3 3 3 c d 4 .
    . 4 4 f 6 6 6 6 6 6 f 4 4 .
    . . . . f f f f f f . . . .
    . . . . f f . . f f . . . .
    `, SpriteKind.Player)
controller.moveSprite(Player1)
Player1.setStayInScreen(true)
tiles.setCurrentTilemap(tilemap`level1`)
for (let index = 0; index < 12; index++) {
    Collect_Item = sprites.create(img`
        . . . . . . . . . . . 6 6 6 6 6
        . . . . . . . . . 6 6 7 7 7 7 8
        . . . . . . 8 8 8 7 7 8 8 6 8 8
        . . e e e e c 6 6 8 8 . 8 7 8 .
        . e 2 5 4 2 e c 8 . . . 6 7 8 .
        e 2 4 2 2 2 2 2 c . . . 6 7 8 .
        e 2 2 2 2 2 2 2 c . . . 8 6 8 .
        e 2 e e 2 2 2 2 e e e e c 6 8 .
        c 2 e e 2 2 2 2 e 2 5 4 2 c 8 .
        . c 2 e e e 2 e 2 4 2 2 2 2 c .
        . . c 2 2 2 e e 2 2 2 2 2 2 2 e
        . . . e c c e c 2 2 2 2 2 2 2 e
        . . . . . . . c 2 e e 2 2 e 2 c
        . . . . . . . c e e e e e e 2 c
        . . . . . . . . c e 2 2 2 2 c .
        . . . . . . . . . c c c c c . .
        `, SpriteKind.Food)
    tiles.placeOnRandomTile(Collect_Item, assets.tile`transparency16`)
}
let Enemy1 = sprites.create(img`
    . . . . c c c c c c . . . . . .
    . . . c 6 7 7 7 7 6 c . . . . .
    . . c 7 7 7 7 7 7 7 7 c . . . .
    . c 6 7 7 7 7 7 7 7 7 6 c . . .
    . c 7 c 6 6 6 6 c 7 7 7 c . . .
    . f 7 6 f 6 6 f 6 7 7 7 f . . .
    . f 7 7 7 7 7 7 7 7 7 7 f . . .
    . . f 7 7 7 7 6 c 7 7 6 f c . .
    . . . f c c c c 7 7 6 f 7 7 c .
    . . c 7 2 7 7 7 6 c f 7 7 7 7 c
    . c 7 7 2 7 7 c f c 6 7 7 6 c c
    c 1 1 1 1 7 6 f c c 6 6 6 c . .
    f 1 1 1 1 1 6 6 c 6 6 6 6 f . .
    f 6 1 1 1 1 1 6 6 6 6 6 c f . .
    . f 6 1 1 1 1 1 1 6 6 6 f . . .
    . . c c c c c c c c c f . . . .
    `, SpriteKind.Enemy)
tiles.placeOnRandomTile(Enemy1, assets.tile`transparency16`)
Enemy1.follow(Player1, 60)
info.setScore(0)
info.startCountdown(10)
Lesson Outline
Introduction
- Welcome and introduce the concept of game development with MakeCode Arcade.
- Explain that we will create a game with multiple features and levels.
- Demo a completed version of the game and briefly introduce the core components of the game.
LEVEL 1 - Core Game Mechanics
1.1. Setting Up the Player1 Sprite
- Show how to create a
||sprites:Player1 sprite of kind Player||. - Add a
||controller:block||to allow controling the Player1 sprite with the arrow keys or buttons. - Explain the option to keep the Player1 within the screen or handle when it leaves the screen.
- Add the the
||sprites:block||to keep the Player1 within the screen. - Test the game. You should see and be able to control the Player1 Sprite.
   let Player1 = sprites.create(img`
    . f f f . f f f f . f f f .
    f f f f f c c c c f f f f f
    f f f f b c c c c b f f f f
    f f f c 3 c c c c 3 c f f f
    . f 3 3 c c c c c c 3 3 f .
    . f c c c c 4 4 c c c c f .
    . f f c c 4 4 4 4 c c f f .
    . f f f b f 4 4 f b f f f .
    . f f 4 1 f d d f 1 4 f f .
    . . f f d d d d d d f f . .
    . . e f e 4 4 4 4 e f e . .
    . e 4 f b 3 3 3 3 b f 4 e .
    . 4 d f 3 3 3 3 3 3 c d 4 .
    . 4 4 f 6 6 6 6 6 6 f 4 4 .
    . . . . f f f f f f . . . .
    . . . . f f . . f f . . . .
    `, SpriteKind.Player)
controller.moveSprite(Player1)
Player1.setStayInScreen(true)
1.2. Creating and Placing Fruit
Continue adding to the current code within the ||loops: on start|| block the following:
- Create a
||sprites:Fruit sprite of kind Food||. - Try to
||scene:place it randomly||on the screen. *This will not work as expected, as we have not defined a Tilemap. * - Introduce the concept and add a
||scene:tilemap||for random placement.
### ~hint
- Make sure that the ``||scene:tilemap||`` is **10 by 8 units**.  Change the size in the Tilemap Editor.
- For now we will leave the ``||scene:tilemap||`` blank.  We'll create our world later on.
- Make sure that the ``||scene:tilemap||`` is placed before the ``||scene:place it randomly||`` block.
~
  // @hide
  let Player1 = sprites.create(img`
  . f f f . f f f f . f f f .
  f f f f f c c c c f f f f f
  f f f f b c c c c b f f f f
  f f f c 3 c c c c 3 c f f f
  . f 3 3 c c c c c c 3 3 f .
  . f c c c c 4 4 c c c c f .
  . f f c c 4 4 4 4 c c f f .
  . f f f b f 4 4 f b f f f .
  . f f 4 1 f d d f 1 4 f f .
  . . f f d d d d d d f f . .
  . . e f e 4 4 4 4 e f e . .
  . e 4 f b 3 3 3 3 b f 4 e .
  . 4 d f 3 3 3 3 3 3 c d 4 .
  . 4 4 f 6 6 6 6 6 6 f 4 4 .
  . . . . f f f f f f . . . .
  . . . . f f . . f f . . . .
  `, SpriteKind.Player)
  // @hide
  controller.moveSprite(Player1)
  // @hide
  Player1.setStayInScreen(true)

  let Fruit = sprites.create(img`
  . . . . . . . . . . . 6 6 6 6 6
  . . . . . . . . . 6 6 7 7 7 7 8
  . . . . . . 8 8 8 7 7 8 8 6 8 8
  . . e e e e c 6 6 8 8 . 8 7 8 .
  . e 2 5 4 2 e c 8 . . . 6 7 8 .
  e 2 4 2 2 2 2 2 c . . . 6 7 8 .
  e 2 2 2 2 2 2 2 c . . . 8 6 8 .
  e 2 e e 2 2 2 2 e e e e c 6 8 .
  c 2 e e 2 2 2 2 e 2 5 4 2 c 8 .
  . c 2 e e e 2 e 2 4 2 2 2 2 c .
  . . c 2 2 2 e e 2 2 2 2 2 2 2 e
  . . . e c c e c 2 2 2 2 2 2 2 e
  . . . . . . . c 2 e e 2 2 e 2 c
  . . . . . . . c e e e e e e 2 c
  . . . . . . . . c e 2 2 2 2 c .
  . . . . . . . . . c c c c c . .
  `, SpriteKind.Food)
  tiles.setCurrentTilemap(tilemap`level1`)
  tiles.placeOnRandomTile(Fruit, assets.tile`transparency16`)
1.3. Collision Detection - Player1 catches Fruit
- Discuss how to check for Fruit pickup.
- Explain how to detect collisions between the Player1 and the Fruit.
- Implement logic to handle the Fruit pickup event.
- Add the
||sprites:overlaps ||event block and make sure that it is checking for sprites of kind Player and Food. - This block will check for as long as the game is running if the sprites of kind Player and Food intersect.
- Add the
||destroy||block and ensure that||otherSprite||is selected. In this case it represents the Fruit.
```blocks
sprites.onOverlap(SpriteKind.Player, SpriteKind.Food, function (sprite, otherSprite) {
sprites.destroy(otherSprite)
})
```
- GIF of how to add the **otherSprite** block to the ``||sprites: destroy||`` block.
- 
LEVEL 2 - Adding an Enemy
2.1. Add Enemy1
Add to the current code within the ||loops: on start|| block the following:
- Create an
||sprite: Enemy1||sprite and place it randomly on the screen following the same steps used to create Player1. Make sure that the kind is Enemy and not Player. - Explain and code the concept of having the Enemy1
||sprite: follow||the Player1.
### ~alert
Player1 Does not stand a chance, as Enemy1 is too fast. To balance the game and increase its playability click on the plus button within the follow block and change the speed of the Enemy1.
```block
// @hide
let Enemy1 = sprites.create(img`
. . . . c c c c c c . . . . . .
. . . c 6 7 7 7 7 6 c . . . . .
. . c 7 7 7 7 7 7 7 7 c . . . .
. c 6 7 7 7 7 7 7 7 7 6 c . . .
. c 7 c 6 6 6 6 c 7 7 7 c . . .
. f 7 6 f 6 6 f 6 7 7 7 f . . .
. f 7 7 7 7 7 7 7 7 7 7 f . . .
. . f 7 7 7 7 6 c 7 7 6 f c . .
. . . f c c c c 7 7 6 f 7 7 c .
. . c 7 2 7 7 7 6 c f 7 7 7 7 c
. c 7 7 2 7 7 c f c 6 7 7 6 c c
c 1 1 1 1 7 6 f c c 6 6 6 c . .
f 1 1 1 1 1 6 6 c 6 6 6 6 f . .
f 6 1 1 1 1 1 6 6 6 6 6 c f . .
. f 6 1 1 1 1 1 1 6 6 6 f . . .
. . c c c c c c c c c f . . . .
`, SpriteKind.Enemy)
Enemy1.follow(Player1, 60) ```
### ~
```block
// @hide
let Player1 = sprites.create(img`
. f f f . f f f f . f f f .
f f f f f c c c c f f f f f
f f f f b c c c c b f f f f
f f f c 3 c c c c 3 c f f f
. f 3 3 c c c c c c 3 3 f .
. f c c c c 4 4 c c c c f .
. f f c c 4 4 4 4 c c f f .
. f f f b f 4 4 f b f f f .
. f f 4 1 f d d f 1 4 f f .
. . f f d d d d d d f f . .
. . e f e 4 4 4 4 e f e . .
. e 4 f b 3 3 3 3 b f 4 e .
. 4 d f 3 3 3 3 3 3 c d 4 .
. 4 4 f 6 6 6 6 6 6 f 4 4 .
. . . . f f f f f f . . . .
. . . . f f . . f f . . . .
`, SpriteKind.Player)
// @hide
controller.moveSprite(Player1)
// @hide
Player1.setStayInScreen(true)
// @hide
let Fruit = sprites.create(img`
    . . . . . . . . . . . 6 6 6 6 6
    . . . . . . . . . 6 6 7 7 7 7 8
    . . . . . . 8 8 8 7 7 8 8 6 8 8
    . . e e e e c 6 6 8 8 . 8 7 8 .
    . e 2 5 4 2 e c 8 . . . 6 7 8 .
    e 2 4 2 2 2 2 2 c . . . 6 7 8 .
    e 2 2 2 2 2 2 2 c . . . 8 6 8 .
    e 2 e e 2 2 2 2 e e e e c 6 8 .
    c 2 e e 2 2 2 2 e 2 5 4 2 c 8 .
    . c 2 e e e 2 e 2 4 2 2 2 2 c .
    . . c 2 2 2 e e 2 2 2 2 2 2 2 e
    . . . e c c e c 2 2 2 2 2 2 2 e
    . . . . . . . c 2 e e 2 2 e 2 c
    . . . . . . . c e e e e e e 2 c
    . . . . . . . . c e 2 2 2 2 c .
    . . . . . . . . . c c c c c . .
    `, SpriteKind.Food)
// @hide
tiles.setCurrentTilemap(tilemap`level1`)
// @hide
tiles.placeOnRandomTile(Fruit, assets.tile`transparency16`)

let Enemy1 = sprites.create(img`
    . . . . c c c c c c . . . . . .
    . . . c 6 7 7 7 7 6 c . . . . .
    . . c 7 7 7 7 7 7 7 7 c . . . .
    . c 6 7 7 7 7 7 7 7 7 6 c . . .
    . c 7 c 6 6 6 6 c 7 7 7 c . . .
    . f 7 6 f 6 6 f 6 7 7 7 f . . .
    . f 7 7 7 7 7 7 7 7 7 7 f . . .
    . . f 7 7 7 7 6 c 7 7 6 f c . .
    . . . f c c c c 7 7 6 f 7 7 c .
    . . c 7 2 7 7 7 6 c f 7 7 7 7 c
    . c 7 7 2 7 7 c f c 6 7 7 6 c c
    c 1 1 1 1 7 6 f c c 6 6 6 c . .
    f 1 1 1 1 1 6 6 c 6 6 6 6 f . .
    f 6 1 1 1 1 1 6 6 6 6 6 c f . .
    . f 6 1 1 1 1 1 1 6 6 6 f . . .
    . . c c c c c c c c c f . . . .
    `, SpriteKind.Enemy)
tiles.placeOnRandomTile(Enemy1, assets.tile`transparency16`)
Enemy1.follow(Player1, 60)
```
2.2 Losing the Game - Enemy1 catches Player1
- We have done this before in step 3 of Level 1 - Core Game Mechanics! Except that this time we need to code what happens when Enemy1 catches Player1.
- Implement logic to handle the collision between sprites.
- Add the
||sprites:overlaps ||event block and make sure that it is checking for sprites of kind Player and Enemy. - Discuss what should happen when a collision occurs (game over).
- Add the
||game: game over||block and set it to lose, to end the game. - Provide a message to the user by including the
||game: use message||block.- Set it to lose.
- Add a message. Something nice, like “Better luck next time”.
sprites.onOverlap(SpriteKind.Player, SpriteKind.Enemy, function (sprite, otherSprite) {
    game.gameOver(false)
    game.setGameOverMessage(false, "Better luck next time")
})
2.3. Winning the Game
We can now lose the game, but we also want to be able to win it! Let’s code our way to victory.
- At the moment the condition we have to win the game is to collect the Fruit. Thankfully, we already have code that detects that collision.
- Add a
||game: use message||block to congratulate the player and set it to win. - We should add the block
||game: game over||to make sure we stop the game. Remember to make sure it is set to win.
```block
sprites.onOverlap(SpriteKind.Player, SpriteKind.Food, function (sprite, otherSprite) {
    sprites.destroy(otherSprite)
    game.setGameOverMessage(true, "You did it!")
    game.gameOver(true)
})
```
LEVEL 3 - Multiple Fruits and Score:
We have a working game, but we can make it better by increasing the number of fruit to catch. We need to find a way to easily add fruits in random places and we may as well add a scoring system to win the game once all the fruits have been captured.
3.1 - Adding multiple Fruits
- One way to add multiple Fruits is to repeat the code we used in Level 1.2, as many times as fruits we want to include.
- First we add the
||sprites: Fruit||sprite of kind Food. - Then we place the
||sptrites: Fruit||in||scene: random||palces within the tilemap.
  let Collect_Item = sprites.create(img`
  . . . . . . . . . . . 6 6 6 6 6
  . . . . . . . . . 6 6 7 7 7 7 8
  . . . . . . 8 8 8 7 7 8 8 6 8 8
  . . e e e e c 6 6 8 8 . 8 7 8 .
  . e 2 5 4 2 e c 8 . . . 6 7 8 .
  e 2 4 2 2 2 2 2 c . . . 6 7 8 .
  e 2 2 2 2 2 2 2 c . . . 8 6 8 .
  e 2 e e 2 2 2 2 e e e e c 6 8 .
  c 2 e e 2 2 2 2 e 2 5 4 2 c 8 .
  . c 2 e e e 2 e 2 4 2 2 2 2 c .
  . . c 2 2 2 e e 2 2 2 2 2 2 2 e
  . . . e c c e c 2 2 2 2 2 2 2 e
  . . . . . . . c 2 e e 2 2 e 2 c
  . . . . . . . c e e e e e e 2 c
  . . . . . . . . c e 2 2 2 2 c .
  . . . . . . . . . c c c c c . .
  `, SpriteKind.Food)
  tiles.placeOnRandomTile(Collect_Item, assets.tile`transparency16`)
~hint
- But this method makes our code very busy and imagine if we wanted to add 50 enemies! It will take a long time and make our code hard to manage and understand.
- It is much better to instruct the computer to do the adding of the fruits in random place as many times we like. We can use a
||loops: repeat|||block and set the number of repetitions to 12, creating 12 Fruits on the tilemap.
for (let index = 0; index < 12; index++) { Collect_Item = sprites.create(img` . . . . . . . . . . . 6 6 6 6 6 . . . . . . . . . 6 6 7 7 7 7 8 . . . . . . 8 8 8 7 7 8 8 6 8 8 . . e e e e c 6 6 8 8 . 8 7 8 . . e 2 5 4 2 e c 8 . . . 6 7 8 . e 2 4 2 2 2 2 2 c . . . 6 7 8 . e 2 2 2 2 2 2 2 c . . . 8 6 8 . e 2 e e 2 2 2 2 e e e e c 6 8 . c 2 e e 2 2 2 2 e 2 5 4 2 c 8 . . c 2 e e e 2 e 2 4 2 2 2 2 c . . . c 2 2 2 e e 2 2 2 2 2 2 2 e . . . e c c e c 2 2 2 2 2 2 2 e . . . . . . . c 2 e e 2 2 e 2 c . . . . . . . c e e e e e e 2 c . . . . . . . . c e 2 2 2 2 c . . . . . . . . . . c c c c c . . `, SpriteKind.Food) tiles.placeOnRandomTile(Collect_Item, assets.tile`transparency16`) } - First we add the
~
-
Great! We added multiple fruits by introducing a single block. Time to play.
-
Wait, there is a problem. When you test the game, you’ll see that we win the game after collecting the first fruit. That is not good game design. We need to find a way to change our code to delay winning the game until we collect all 12 fruits.
3.2 - Add a score and modify the winning condition
-
First add a
||info: set score||block at the end of our main code (within the||loops: on start||block). Make sure the score is set to 0.info.setScore(0) -
Then, we need to modify our Playe1 and Fruit collision detection code. We don’t want to run the instructions to end the game each time Player1 catches a Fruit. What we want is to
||:sprite: destroy||the Fruit, and increase our||info: score||.sprites.onOverlap(SpriteKind.Player, SpriteKind.Food, function (sprite, otherSprite) { sprites.destroy(otherSprite) info.changeScoreBy(1) }) - Almost there, we now need to find the right place to end the game when the Player1 wins.
- Add the
||info: on score||block. Change the number to 12, to match the number of fruits we created. - Inside the new blockinclude the
||game: message when WIN||and||game: game over WIN||blocks.
info.onScore(12, function () {
    game.setGameOverMessage(true, "You did it!")
    game.gameOver(true)
})
LEVEL 4 - Timer, Tiles and Sound:
To add more excitment to the game we’ll add some preassure to the Player1 by forcing the picking of all the fruits before a certain time (10 seconds)
4.1 - Adding a Timer
-
First add a
||info: set countdown||block at the end of our main code (within the||loops: on start||block). Make sure the score is set it to 10.info.startCountdown(10) - Now we follow a similar procedure to when we added the score block:
- Add the
||info: on countdown end||block. - Inside the new block include the
||game: message when LOSE||with the message You ran out of time and||game: game over LOSE||blocks.
info.onCountdownEnd(function () {
  game.setGameOverMessage(false, "You ran out of time")
  game.gameOver(false)
})
4.2 - Adding Sound
- Add the
-
We’ll add a sound everytime the Player1 collects a fruit. Do so by including the
||music: play sound ||block at the end of the code that checks the collision bettwen the Player1 and fruit.sprites.onOverlap(SpriteKind.Player, SpriteKind.Food, function (sprite, otherSprite) { sprites.destroy(otherSprite) info.changeScoreBy(1) // @highlight music.play(music.melodyPlayable(music.baDing), music.PlaybackMode.UntilDone) })
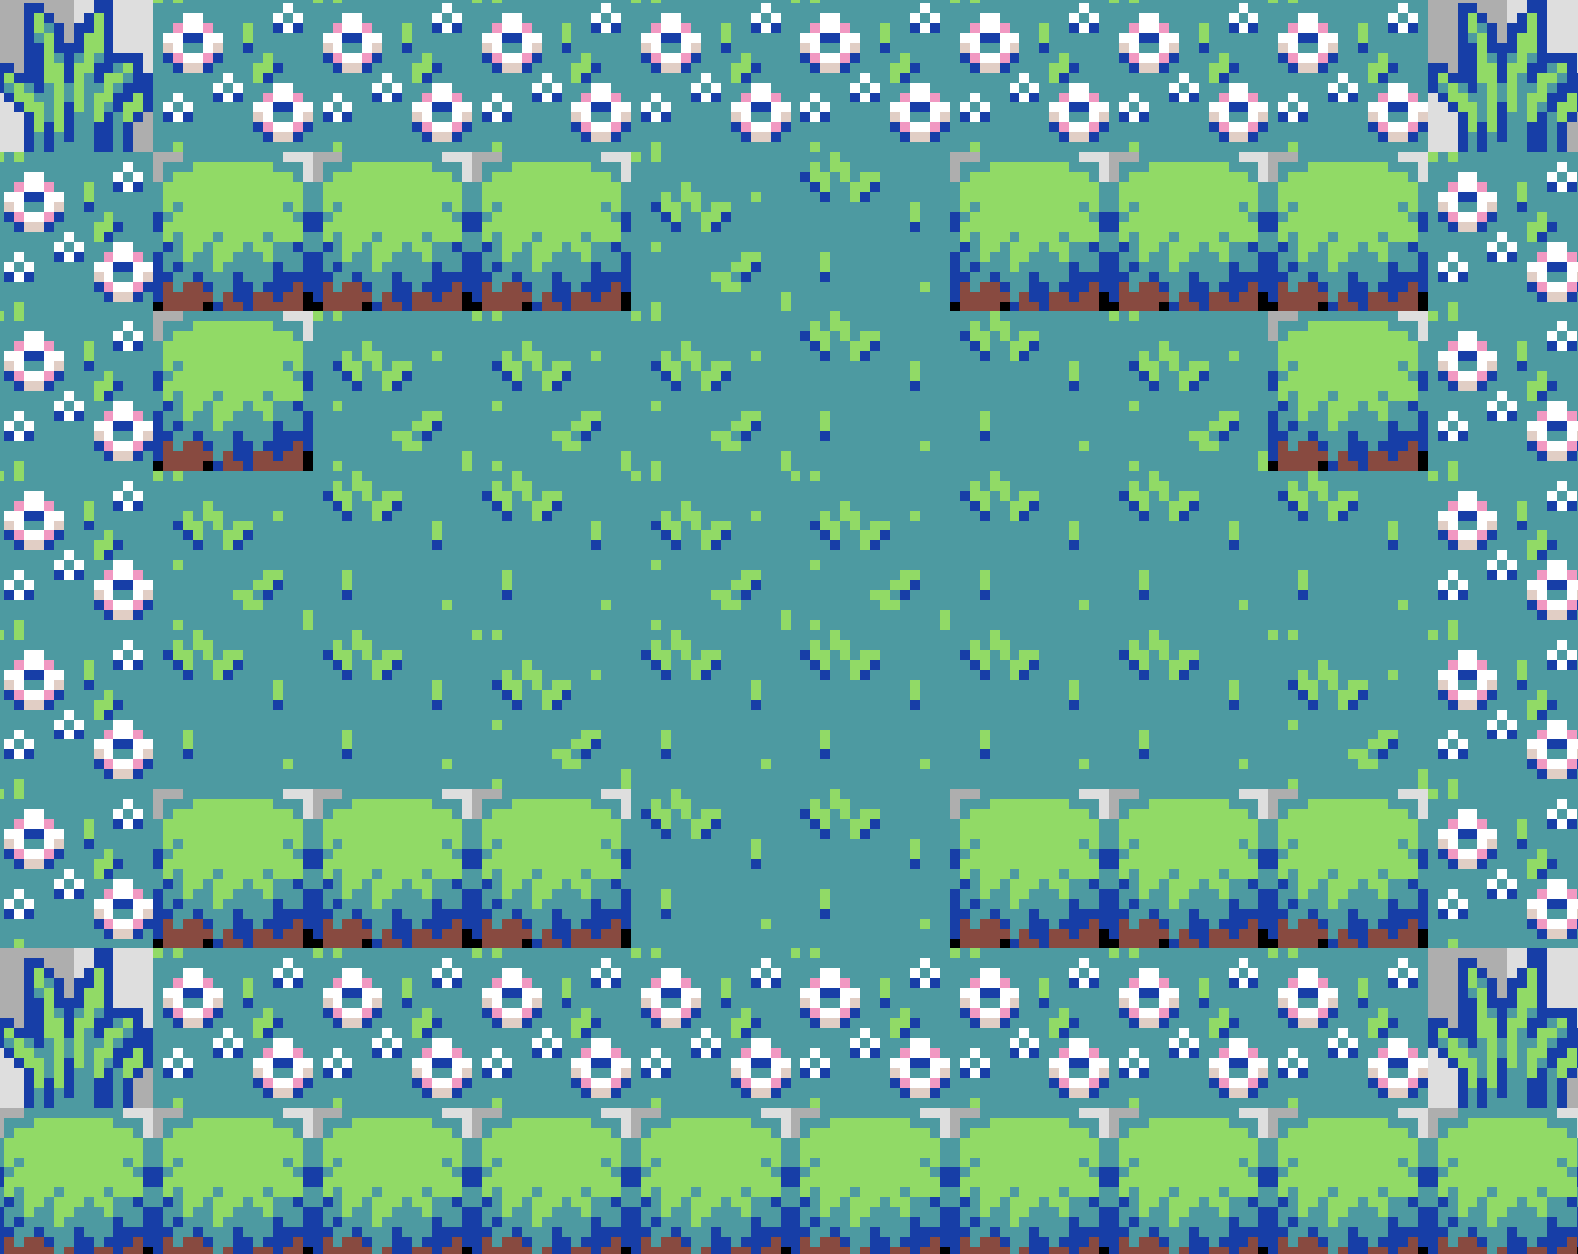
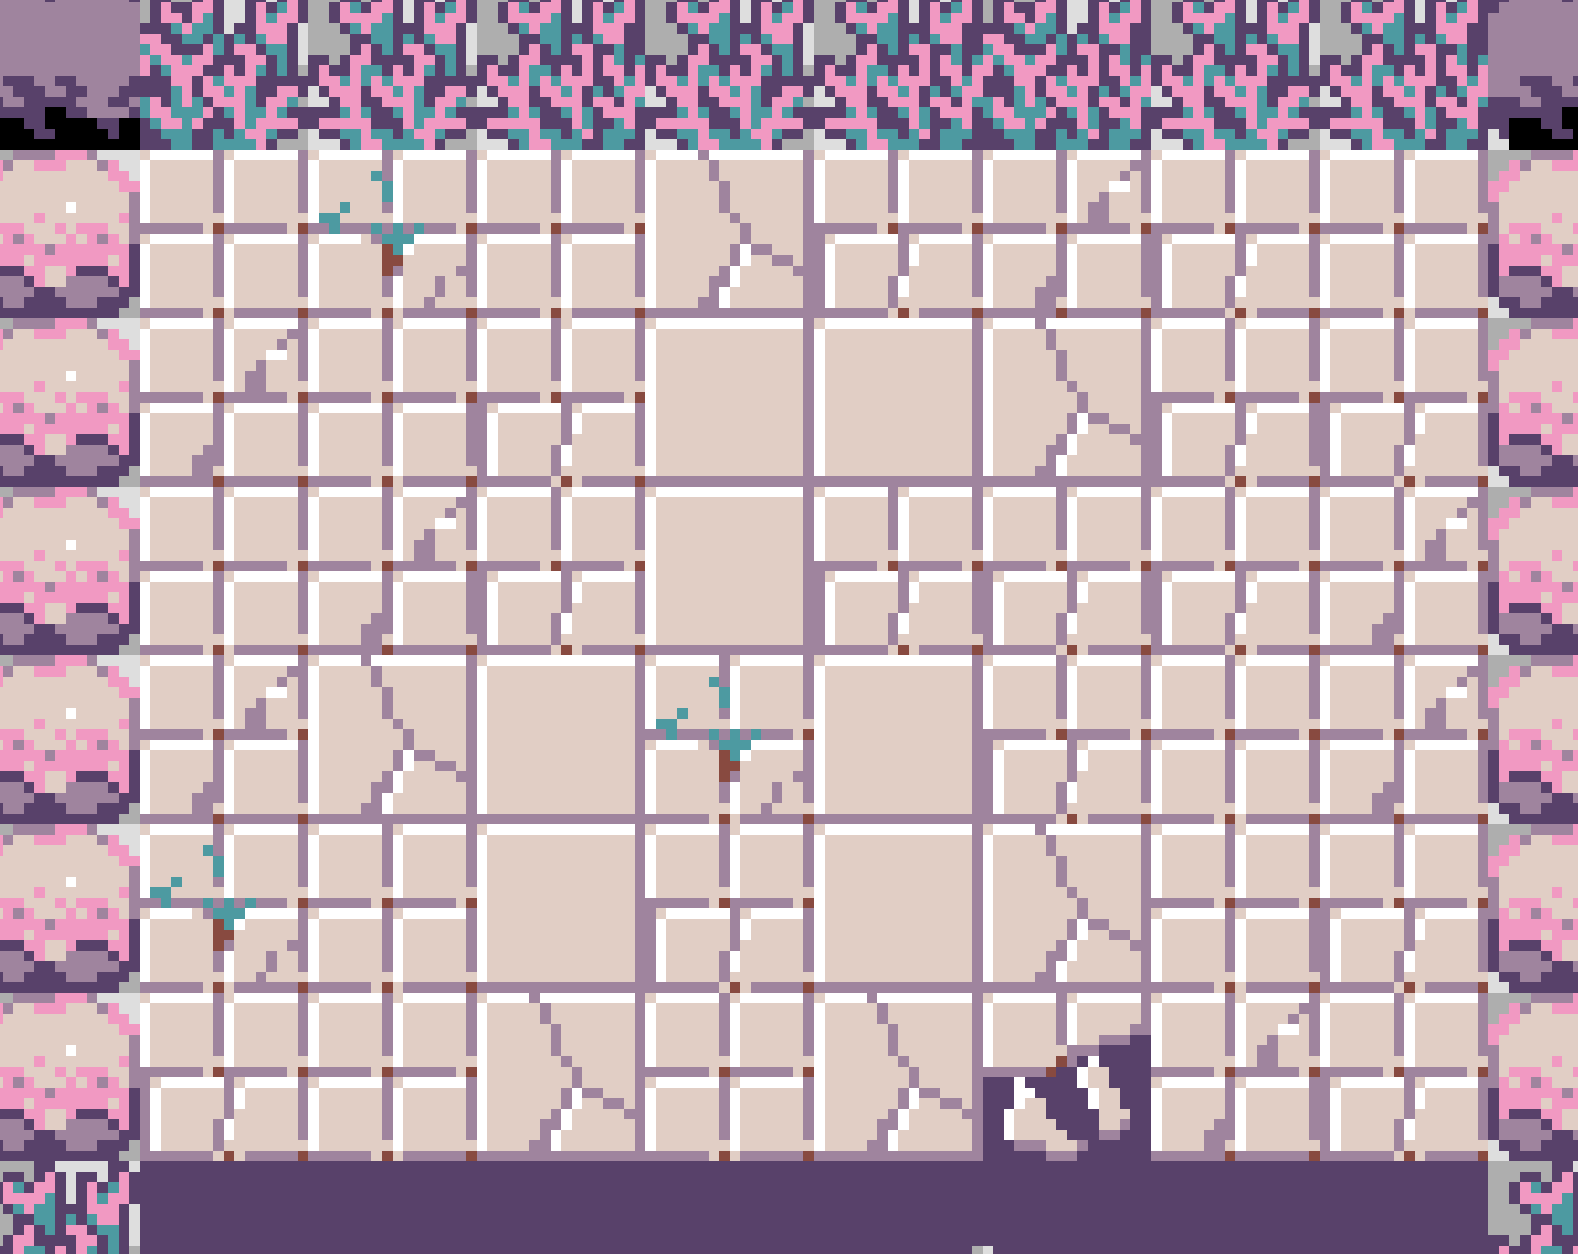
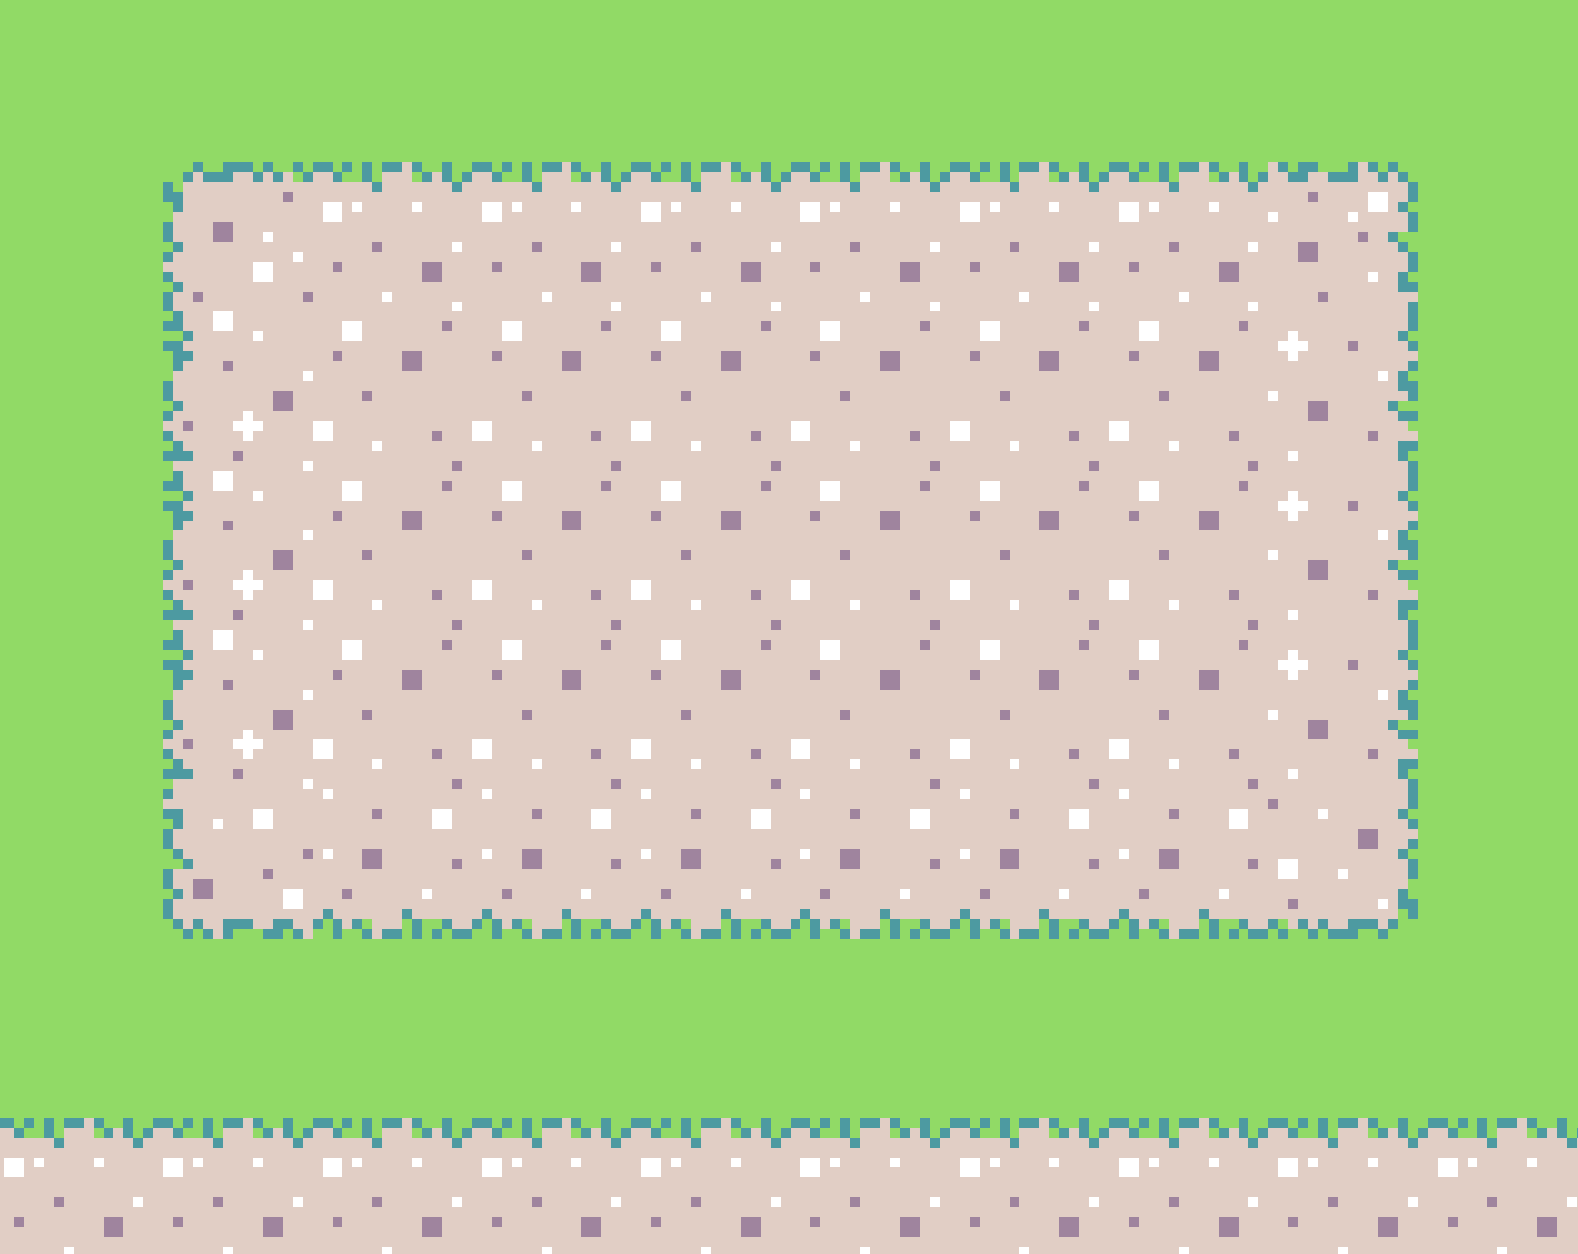
4.3 - Customize the game by Adding Elements to the Backgrouned
To embelish and personalize your game, click on the gray square within the ||scene: set tilemap|| block and add elements to the background.
[tiles.setCurrentTilemap(tilemap`level1`)]
Here are some examples:
Congratulations!
All the Code!
info.onScore(12, function () {
    game.setGameOverMessage(true, "You did it!")
    game.gameOver(true)
})
info.onCountdownEnd(function () {
    game.setGameOverMessage(false, "You ran out of time")
    game.gameOver(false)
})
sprites.onOverlap(SpriteKind.Player, SpriteKind.Food, function (sprite, otherSprite) {
    sprites.destroy(otherSprite)
    info.changeScoreBy(1)
    music.play(music.melodyPlayable(music.baDing), music.PlaybackMode.UntilDone)
})
sprites.onOverlap(SpriteKind.Player, SpriteKind.Enemy, function (sprite, otherSprite) {
    game.gameOver(false)
    game.setGameOverMessage(false, "Better luck next time")
})
let Collect_Item: Sprite = null
let Player1 = sprites.create(img`
    . f f f . f f f f . f f f .
    f f f f f c c c c f f f f f
    f f f f b c c c c b f f f f
    f f f c 3 c c c c 3 c f f f
    . f 3 3 c c c c c c 3 3 f .
    . f c c c c 4 4 c c c c f .
    . f f c c 4 4 4 4 c c f f .
    . f f f b f 4 4 f b f f f .
    . f f 4 1 f d d f 1 4 f f .
    . . f f d d d d d d f f . .
    . . e f e 4 4 4 4 e f e . .
    . e 4 f b 3 3 3 3 b f 4 e .
    . 4 d f 3 3 3 3 3 3 c d 4 .
    . 4 4 f 6 6 6 6 6 6 f 4 4 .
    . . . . f f f f f f . . . .
    . . . . f f . . f f . . . .
    `, SpriteKind.Player)
controller.moveSprite(Player1)
Player1.setStayInScreen(true)
tiles.setCurrentTilemap(tilemap`level1`)
for (let index = 0; index < 12; index++) {
    Collect_Item = sprites.create(img`
        . . . . . . . . . . . 6 6 6 6 6
        . . . . . . . . . 6 6 7 7 7 7 8
        . . . . . . 8 8 8 7 7 8 8 6 8 8
        . . e e e e c 6 6 8 8 . 8 7 8 .
        . e 2 5 4 2 e c 8 . . . 6 7 8 .
        e 2 4 2 2 2 2 2 c . . . 6 7 8 .
        e 2 2 2 2 2 2 2 c . . . 8 6 8 .
        e 2 e e 2 2 2 2 e e e e c 6 8 .
        c 2 e e 2 2 2 2 e 2 5 4 2 c 8 .
        . c 2 e e e 2 e 2 4 2 2 2 2 c .
        . . c 2 2 2 e e 2 2 2 2 2 2 2 e
        . . . e c c e c 2 2 2 2 2 2 2 e
        . . . . . . . c 2 e e 2 2 e 2 c
        . . . . . . . c e e e e e e 2 c
        . . . . . . . . c e 2 2 2 2 c .
        . . . . . . . . . c c c c c . .
        `, SpriteKind.Food)
    tiles.placeOnRandomTile(Collect_Item, assets.tile`transparency16`)
}
let Enemy1 = sprites.create(img`
    . . . . c c c c c c . . . . . .
    . . . c 6 7 7 7 7 6 c . . . . .
    . . c 7 7 7 7 7 7 7 7 c . . . .
    . c 6 7 7 7 7 7 7 7 7 6 c . . .
    . c 7 c 6 6 6 6 c 7 7 7 c . . .
    . f 7 6 f 6 6 f 6 7 7 7 f . . .
    . f 7 7 7 7 7 7 7 7 7 7 f . . .
    . . f 7 7 7 7 6 c 7 7 6 f c . .
    . . . f c c c c 7 7 6 f 7 7 c .
    . . c 7 2 7 7 7 6 c f 7 7 7 7 c
    . c 7 7 2 7 7 c f c 6 7 7 6 c c
    c 1 1 1 1 7 6 f c c 6 6 6 c . .
    f 1 1 1 1 1 6 6 c 6 6 6 6 f . .
    f 6 1 1 1 1 1 6 6 6 6 6 c f . .
    . f 6 1 1 1 1 1 1 6 6 6 f . . .
    . . c c c c c c c c c f . . . .
    `, SpriteKind.Enemy)
tiles.placeOnRandomTile(Enemy1, assets.tile`transparency16`)
Enemy1.follow(Player1, 60)
info.setScore(0)
info.startCountdown(10)
Open this page at https://german-kcj.github.io/single-aws—no-code/
Use as Extension
This repository can be added as an extension in MakeCode.
- open https://arcade.makecode.com/
- click on New Project
- click on Extensions under the gearwheel menu
- search for https://github.com/german-kcj/single-aws—no-code and import
Edit this project 
To edit this repository in MakeCode.
- open https://arcade.makecode.com/
- click on Import then click on Import URL
- paste https://github.com/german-kcj/single-aws—no-code and click import
Blocks preview
This image shows the blocks code from the last commit in master. This image may take a few minutes to refresh.

Metadata (used for search, rendering)
- for PXT/arcade
Open this page at https://german-kcj.github.io/adventure/
Use as Extension
This repository can be added as an extension in MakeCode.
- open https://arcade.makecode.com/
- click on New Project
- click on Extensions under the gearwheel menu
- search for https://github.com/german-kcj/adventure and import
Edit this project 
To edit this repository in MakeCode.
- open https://arcade.makecode.com/
- click on Import then click on Import URL
- paste https://github.com/german-kcj/adventure and click import
Blocks preview
This image shows the blocks code from the last commit in master. This image may take a few minutes to refresh.

Metadata (used for search, rendering)
- for PXT/arcade